Some links in the post are affiliate links and I get a commission from purchases made through some links found in the post.
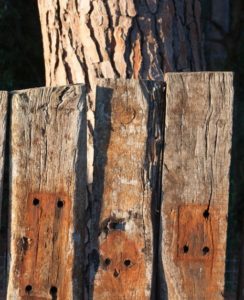
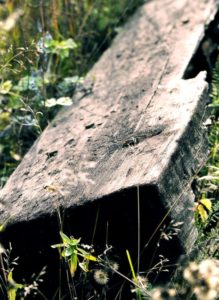
Railway line sleepers are the parts on which the rails are organized with appropriate measures. These sleepers, by and large, lay on the ballast and are traditionally called ties in certain areas.
The weight from rails when a train passes is taken by these sleepers and is conveyed to the ballast. These are rectangular slabs.
These sleepers can be wooden, concrete, steel, or cast iron. Wooden sleepers have commonly been used in many areas for centuries.
Hardwood sleepers made of oak, jarrah, and teakwood are pretty common. Hardwood sleepers are basically obtained from slow-growing trees.
Softwood sleepers are made from the timber of fast-growing trees. They are cheaper, easy to make, easily transported, and handled.
Apart from being used in railway lines, sleepers have remarkable uses in gardening.
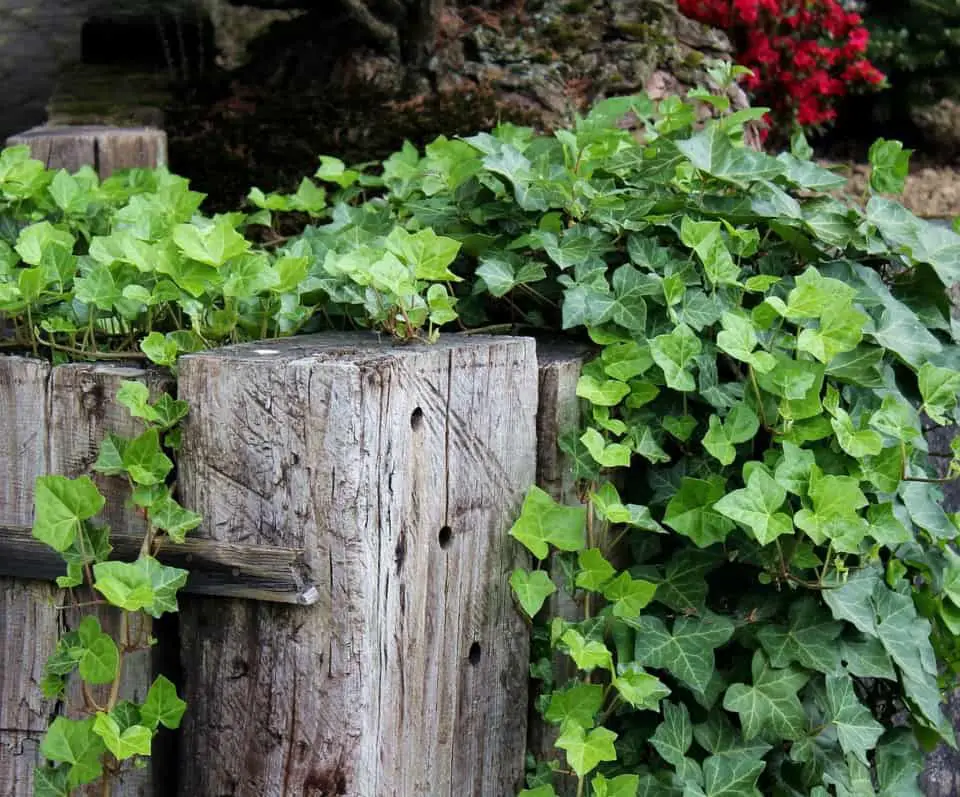
Sleepers are versatile, come in a variety of sizes and colors, and thus can be used for landscaping as well as beautifying your gardens.
In addition, they add a unique contemporary touch to your garden. If you’re looking to add sleepers to your garden and need ideas, we’ve got you covered.
Landscaping with Sleepers
Avid gardeners have long used sleepers. You can also avail of their aesthetics for a variety of purposes. However, they have a lot of pros and cons that need to be discussed first.
Pros of Landscaping with Sleepers:
 Wood sleepers have a wide range of benefits:
1) Their rugged appearance looks beautiful, making them a favorite building material for gardens.
2) They have excellent insulating capabilities to protect your plants against cold temperatures from creeping up from the soil as well as excess warmth. They don’t get easily influenced by temperature changes.
3) They also have great flexibility, allowing you to play with them and mold them into various features for your garden or lawn.
4) They are lightweight, so they can easily be handled and transported. They can also be easily replaced if damaged, worn out, or rotted.
5) The lifespan of a wooden sleeper extends to as many as 15 years of use if treated. They can even last longer if placed above the soil in gardens.
If you prefer the rustic untreated look of sleepers, it’s also doable since naturally, the sleepers also have a lifespan of a decade.
Cons of Landscaping with Sleepers:
Despite their popularity, timber railway sleepers have a big con: they are treated and impregnated with creosote oil obtained from coal tar fraction.
Although its application with creosote extends its life and prevents the fungus growth on the wood and insect infestation, it is toxic.
Therefore, it shouldn’t be used in playground areas, ladders, or tree houses where children are present. Check before buying the sleepers if they’re suitable for use or not.
Wood sleepers, although durable, need due care as they can be prone to rotting if they contact directly with soil.
If you’re enjoying this article, check out our article on how to landscape with potted plants.
Ideas for use of Sleepers in Landscaping:
Sleepers are a great way to add character to your garden. There are many different ways in which you can use sleepers for landscaping.
1) Flower Bed
An easy thing straight off the bat, you could use the sleepers to create a raised flower bed.
It requires close to no technical skill and quickly gets done. The colorful flowers with the rustic wooden sleeper provide a lovely ambiance.
2) Vegetable Beds
The sleepers can also be made into garden beds for planting vegetables. Trust wood and macrocarpa are suitable types of wood for this purpose.
3) Lawn edging
Sleepers are used as garden or lawn edges for a clean and sorted appearance. This also makes lawn mowing easier.
4) Steps
You can also use sleepers to make stairs or steps with gravel in between the blocks. Sleepers can also be stacked one on top of the other to create a natural wall. They can be stacked into a divider as well.
5) Garden Pond
Sleepers can also be used to make garden ponds that greatly elevate your garden’s standard.
6) Boundary
You could also use landscaping sleepers for building boundaries of your lawn as an edge between the grass.
7) Wooden Benches and tables
The easiest thing you can make and add to your garden aesthetic is wooden benches.
Adding some benches to the garden significantly uplifts the outlook of the area. You can also form various tables for sleepers to go with the benches.
8) Patio
Using railway sleepers vertically can make up a patio area with some shade.
9) Deck
You can also use the sleepers to make a deck extending from the back or front of your house into the garden.
10) Pathways
You can also use thin sleepers to create pathways in your garden. They can be fixed with concrete or put into a shallow hole.
11) Garden Swing
An interesting thing you can make with sleepers is a frame for a garden swing. This would keep your toddlers engaged as well.
For more help with your landscaping at home, check out our article here which could help you save $000’s in landscaping fees.
Can you Lay Railway Sleepers on Soil?
 The most reliable and durable way to place your sleepers for landscaping is by placing them on concrete and fixing them in. This would allow them to form a firm and permanent foundation for your landscaping.
But you could also place your railway sleepers inside the soil. Placing heavy sleepers on the soil requires time for the sleepers to set in and embed a bit into the soil so you can start working further.
Although easier and laid back, this method poses the risk of water leaking and pooling. The water pooling can put your timber sleepers at a greater danger to rot.
Gravel and sand mixes are the most suitable alternatives to the soil since they suck up the water and prevent pooling. You can also use a plastic membrane as a barrier between the soil to extend the life of the sleepers.
How do you Attach Sleepers to the Soil?
It is essential to attach your sleepers in place for landscaping purposes firmly. After selecting the area where you want to plant your sleeper, start cleaning it.
Remove grass and weeds since they interfere with the proper placement and setting of the sleepers. It is best to dig a trench and use a semi-dry concrete mix to the trough.
You can then lay the sleepers on top of the concrete. You can also attach screws or hooks to the sleeper with more added support before laying them into the concrete.
After you’ve set the foundation and laid the first set of sleepers, you can go on adding layers and layers according to your desired height.
The sleepers can be fixed with steel rod pins and hooks. You can also make a hole and hammer once you get to the top layer if you don’t want to use rusty screws.
Angle brackets come in handy when connecting the edges, or you can neatly cut the edges of the sleepers and align them to form an L-shaped corner.
Once you’re done with the assembly, you can smoothen the surfaces, fill the structure with soil, and plant away!
How do you Join Sleepers for Garden Edging?
If you’re planning to edge your garden so that you’ll get lawn mowing done easier or to obtain a clean-kept image in general, it is nice first to measure the boundaries of your garden.
Then select the sleepers which would look good with the area. Place the sleepers in line with the garden edge separating them from the flower beds by a few inches.
Dig a shallow trench around the lawn in which you’ll place your sleepers. Fill the trench with a half wet, half-dry mix of concrete and firmly press the sleepers into the soil.
Allow the sleepers to set before walking or playing on the lawn.
How to Make a Garden Border with Sleepers?
If you want to border, you need first to decide what kind of border you need. Bordering means dividing or spacing your garden into compartments or rooms.
Bordering can be done with sleepers placed vertically, and sturdy borders can also be achieved with a bit of concrete.
However, placing sleepers flat would give a solid boundary, and vertical placement is required if you’re bordering a slope or need a higher border.
The flatter side of sleepers proves good for robust and sturdy bordering. You don’t need to fill the entire trench with concrete for a small project.
Instead of layering them flat, using them on their side would be a better thing to do for some added height. You can use screws to make a firm structure as and when needed.
If you’re planning to do vertical bordering, we recommend keeping the cuttings randomized to create a rustic look.
Different sizes of sleepers give more character to the edging than just cutting them all to the same size.
The process of fixing sleepers vertically is quite like the standard procedure. Just dig a trench, place the sleepers, and use concrete on the sides for firming the border.
You may also like: How to landscape with hydrangeas
How do you Prevent Sleepers from Rotting?
Although quite durable, wooden sleepers are prone to rot when constantly exposed to water, moisture, and elements inside the soil.
The weather also plays its role in wearing out wooden sleepers. If you’re using hardwood sleepers, they’ll last for a long time and do not require any treatment.
However, if you’re cutting the sleepers into different sizes, the sawed open ends are unprotected and prone to damage and rotting. Using oil preferable linseed oil as a glaze would help prevent damage to the ends.
Special decking oil and clear wood oil are also recommended to keep them running long-term. These enable the wood to age naturally but keep it nourished, waterproof, and saved from frost damage.
Wood preservatives can easily be found in any hardware shop. It’s better to treat even pretreated sleepers before making structures out of them.
Use a water-resistant tarp against the side of the wood contacting the soil in a flower or garden bed so that the moisture in the soil doesn’t reach the wood.
If you’re placing the sleeper directly on the soil, waterlogging can again pose problems, so using a waterproof plastic membrane can prove beneficial.
How do you Fix Sleepers Together?
 The type of garden sleepers determines the mode you’ll use to fix them together. It requires power tools and machinery to fix sleepers together.
You would need a saw to cut the sleepers and a drill to make holes through the wood.
Many different sizes and shapes of nail plates, timber screws, and corner brackets are used to fix the sleepers together once you’ve aligned them to your desire.
Using stainless steel nails to join and fix sleepers is recommended since rust can discolor your timber around the edges of ordinary steel nails.
Ensure your screws are a third of the length longer than your timber’s depth, and ensure you use a bit of the same diameter and length as the screw to pilot your timber.
This will keep the joints properly secured. Simple joints look and work best when it comes to edges and joints.
Final Thoughts
Railway line sleepers used for supporting the rails are much more than just used for that sole purpose.
They have become a versatile addition to many gardens, and many gardeners are using their rustic woody appearance for a classic look to complement their greens.
Sleepers can be used in many different ways to edge and border your garden, make raised flower beds, turn them into a deck or use them to make a rustic wooden bench.
They are lightweight, but they can be prone to rot. Using oil and proper maintenance is therefore needed to extend their lifespan.
Fixing them securely requires tools and proper nails. If you’re planning to give your home a modern yet classic look, you can use hardwood sleepers for landscaping.
If you want more landscaping inspiration, try our article on how to use an arborvitae in your landscaping.
About the Author:
Saad Ansar
Saad is an avid gardener himself and is a great lover of plants, animals, photography, & people. Currently, he is focused on photographing indoor plants & captioning beautiful outdoor sceneries. He writes and rewrites in-depth articles on nature and science.


