Some links in the post are affiliate links and I get a commission from purchases made through some links found in the post.
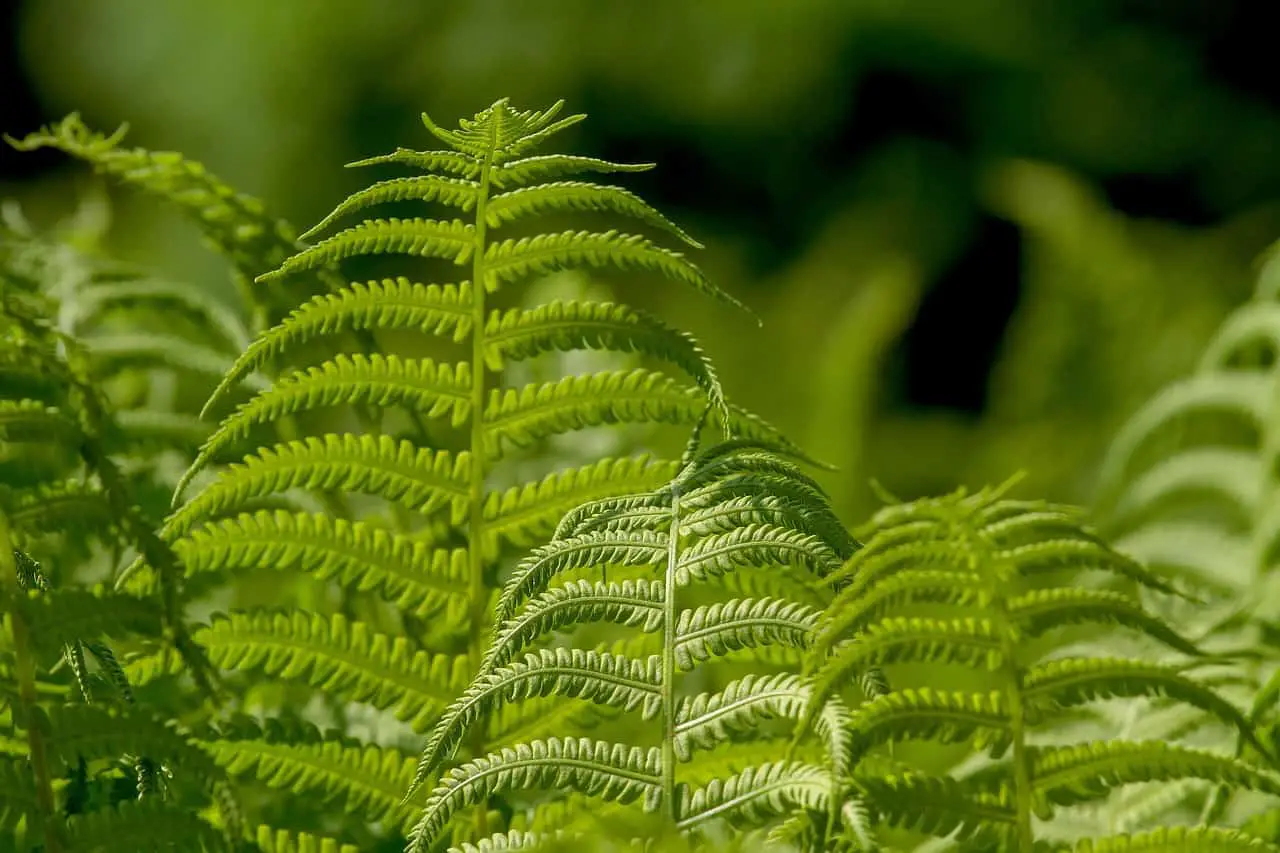
Ferns create beautiful backdrops for your home. Whether you are looking to add some greenery to your indoors or create a beautiful garden, these plants have what it takes.
They are interesting in that they do not flower; neither do they seed. Instead, they reproduce via the production of spores.
Additionally, they are not like most spore-producing plants, given that ferns feature true leaves, stems, and beautiful complex leaves.
It thus seems that whenever they seem to fit into a certain box, another peculiarity makes them stand out.
While quite different from most other indoor and outdoor plants, these plants are relatively easy to grow.
And depending on the species you choose, the plants can reach heights of 80 feet. Can you imagine that?
However, for this to happen, you have to keep up your end of the bargain by caring for the plants.
And today, we cover an interesting side of plant care- homemade fertilizers for ferns. Here goes:
A quick homemade fertilizer recipe for a fern is: (per gallon of water)
- 1 teaspoon of baking powder
- 1 teaspoon of Epsom salt
- 1 teaspoon of potassium nitrate
- 1/3 of a teaspoon of ammonia
Why Should you use Homemade Fertilizer for Your Ferns?
Ferns do not require much fertilization and will thus not call for much in the way of inputs.
Therefore, ferns can do well in the presence of natural homemade fertilizer, which also come with the added benefits of enriching soil fertility.
Besides, natural inputs also reduce dependency on chemical inputs, allowing the plants to make do with the little they get.
Also, it is cheap to use these inputs as you can make them using waste from your kitchen, as you will later see.
What do Ferns Need?
With hundreds of fern species, you might be at a loss of what your specific fern may need. Here are some key considerations to make when growing a fern:
Hardiness Zone
 It would help if you kept in mind that ferns are different. Thus, what is good for the goose may not be good for the gander in your case.
Find out what hardiness zone your fern does best in and try and create similar conditions in your indoors.
When growing a fern outdoors, you are better off sticking to plants that can withstand your region’s climate.
Otherwise, the plant will fail to thrive, and no matter how much water and fertilizer you give it, things won’t change.
Watering
All ferns need water. However, they do not do well in waterlogged soils. As such, the trick lies in finding a balance between soaking the water and lightly watering it.
Aim to dampen the soil, ensuring that the water can dry in the next few days.
Also, before watering, check for dampness by sticking a finger a few inches below the top layer.
On this note, the fern must have adequate aeration and drainage to give the roots some breathing space.
Shade
You may have noticed that your fern does well in shaded conditions. Depending on the species (which you should check), the plant may favor full or partial shading.
A range of 60-80% will do. During colder months, the shading can be less.
However, during summer and other warm months, you should not take any chances with this protection.
You can tell that your plant is not well-shaded if it develops scalding or starts growing upright with a light green hue.
Please note that some ferns can do well in full sun. These, though, require frequent watering to keep up with the high evaporation rates.
Fertilization
The good news is that ferns do not need much fertilization and can make do with the little you have. In fact, if you use too many inputs with these plants, they can end up failing instead of thriving.
If you choose to go with commercial fertilizers, try and stick with rations of 20-10-20 or 20-20-20. The micronutrients should be at levels of 200ppm of nitrogen.
Anything more than this can dry out the plant, which would present in the form of root and tip burns.
Please note that you are better off using solid feeds in the soil than liquid feeds to the fronds when applying fertilizer.
Residues left on the fronds can adversely affect the growth of the plant.
If you are enjoying this article, check out our article on what are the benefits of a Boston fern.
How to Make Homemade Fertilizer for Ferns
Ferns do not need much fertilization and will do well even with light inputs. Below are some ways you can enrich your soil for better plant growth:
Eggshells
 What do you do with your eggshells once you have whipped up some breakfast? Do you toss them in the bin?
It turns out that these shells can have a lasting positive impact on your soil as they are full of potassium and calcium.
Start by cleaning the shells to get rid of the egg components before crushing the shells into tiny particles.
Spread these over the layer of soil, and they will get absorbed over time. These nutrients go a long way in strengthening the fern’s cell structures.
Banana Peels
The list keeps getting better by enabling you to use items that you would have otherwise discarded.
Yes, your banana peels can do more than end up in your compost or garbage bin.
These are rich in potassium and phosphorus, nutrients that strengthen ferns, protecting them from infestations.
So, should you throw the peel into the soil and leave it as is? Not really. The best move lies in chopping up the peel and adding it to the soil.
You can also choose to soak the peel in water for four days. The water will retain the nutrients, giving you a nice mixture to spray onto the fern.
Grass Clippings
Mowing the lawn elicits different reactions. Some people can hardly wait to do it, while others would rather delegate the task.
Regardless of how you feel about it or how it gets done, it has a result – grass clippings. Did you know that these clippings can also act as fertilizer?
They are full of nutrients such as nitrogen, phosphorus and potassium. And the good thing is that they contain these nutrients in average amounts that would not harm a fern.
Take the clippings and place them over the topsoil layer before covering them with dirt. They will decompose over time, releasing the nutrients into the soil.
Coffee
Brewed coffee starts going bad in about five hours. Well, here is a new way to use that stale drink- pour it into the fern’s pot.
Coffee has the benefits of amending soil pH while increasing nitrogen content in one go.
Please note that this fertilizer lies on the acidic side and is thus best for when you wish to move the pH to the lower side of the scale.
As such, you may require diluting it, depending on the fern species you have in your home.
You can choose to work with the coffee grounds as they are or dilute them in water for a minimal effect.
Also, note that coffee use should not be often as this can increase the soil’s acidity to dangerous levels.
Tea
Here is yet another acidic input which you can use to amend your soil’s pH.
Thanks to its citric and tannic acids, this drink not only delights your taste buds but can also work wonders for your fern. You can use tea in two ways.
You can use the tea leaves used to brew the tea and incorporate these with the soil. Alternatively, you can soak the leaves in water and use the mixture on the soil.
Vinegar
Where you see the need to amend the soil’s pH to lie on the higher side of the scale, this input can come in handy.
Plus, it is a great way to keep ants away and deters the growth of weeds. You should be careful with this input as it tends to be quite strong.
Rather than using the vinegar directly on the soil, you should dilute one cup with two freshwater gallons.
Also, please limit the number of times you use it unless you need to amend the soil’s acidity.
You may also like: Why does your fern smell like fish and how to fix it
Homemade Fertilizers to Avoid Using for Ferns
Generally, most natural fertilizers should be safe for use with your fern. However, you should always consider the effects of an input before using it.
Take the example of coffee. Given that it can lower the soil’s pH, you should always check the soil’s pH and measure it against the ideal growing conditions of your fern’s species.
If it needs amendment, then you can use it. There is nothing such as a bad homemade fertilizer, as long as it can solve the problem at hand.
Sometimes, even the best input can have a horrible effect where you do not consider the state of the soil and plant beforehand.
How Often Should you Fertilize your Ferns with Homemade Fertilizer?
 If your ferns grow outdoors, nourishing them is not that important. They can make do with what they get from the decomposing matter in the environment.
With indoor ferns, however, some nourishment will be necessary, albeit on the lighter side.
Generally, you should use inputs about four months after planting the fern. This waiting gives it adequate time to adjust to its new environment.
However, if the plant starts thriving early, you can start feeding it with fertilizer in the first three months. After you start, you can use inputs every month during the growing season.
When growth reduces during the colder months, skip a month before using any inputs.
It is imperative that you use this spacing when working with commercial fertilizers, which tend to be highly concentrated.
Ensure that you adequately water the fern plant after fertilization to prevent drying out of the soil and plant.
Also, please do not use the fertilizer at its full strength. Instead, dilute it to half the mixture as shown on the label.
Final Thoughts: How to Make Homemade Fertilizer For Ferns
With natural fertilizers, you should alternate between the options above, ensuring that the plant gets a taste of all nutrients.
Ferns are not that fussy about fertilization. But if you want them to grow strong and healthy, a few inputs here and there will not hurt.
Be careful with the amounts, though, as too much fertilization can harm the plant. Happy gardening!
Before you go, here are some more related articles I encourage you to read below to help solve more of your gardening issues:
How To Save A Dying Staghorn Fern
Can I Grow Ferns in Water Only
How to Grow Asparagus Ferns from Tubers

